How to use the PlatePlus number plate holder
Using the PlatePlus number plate holder couldn’t be simpler. And because it’s just as straight-forward to assemble as it is to disassemble, keeping your badge or logo and your message up-to-date really is easy. There’s just six steps:
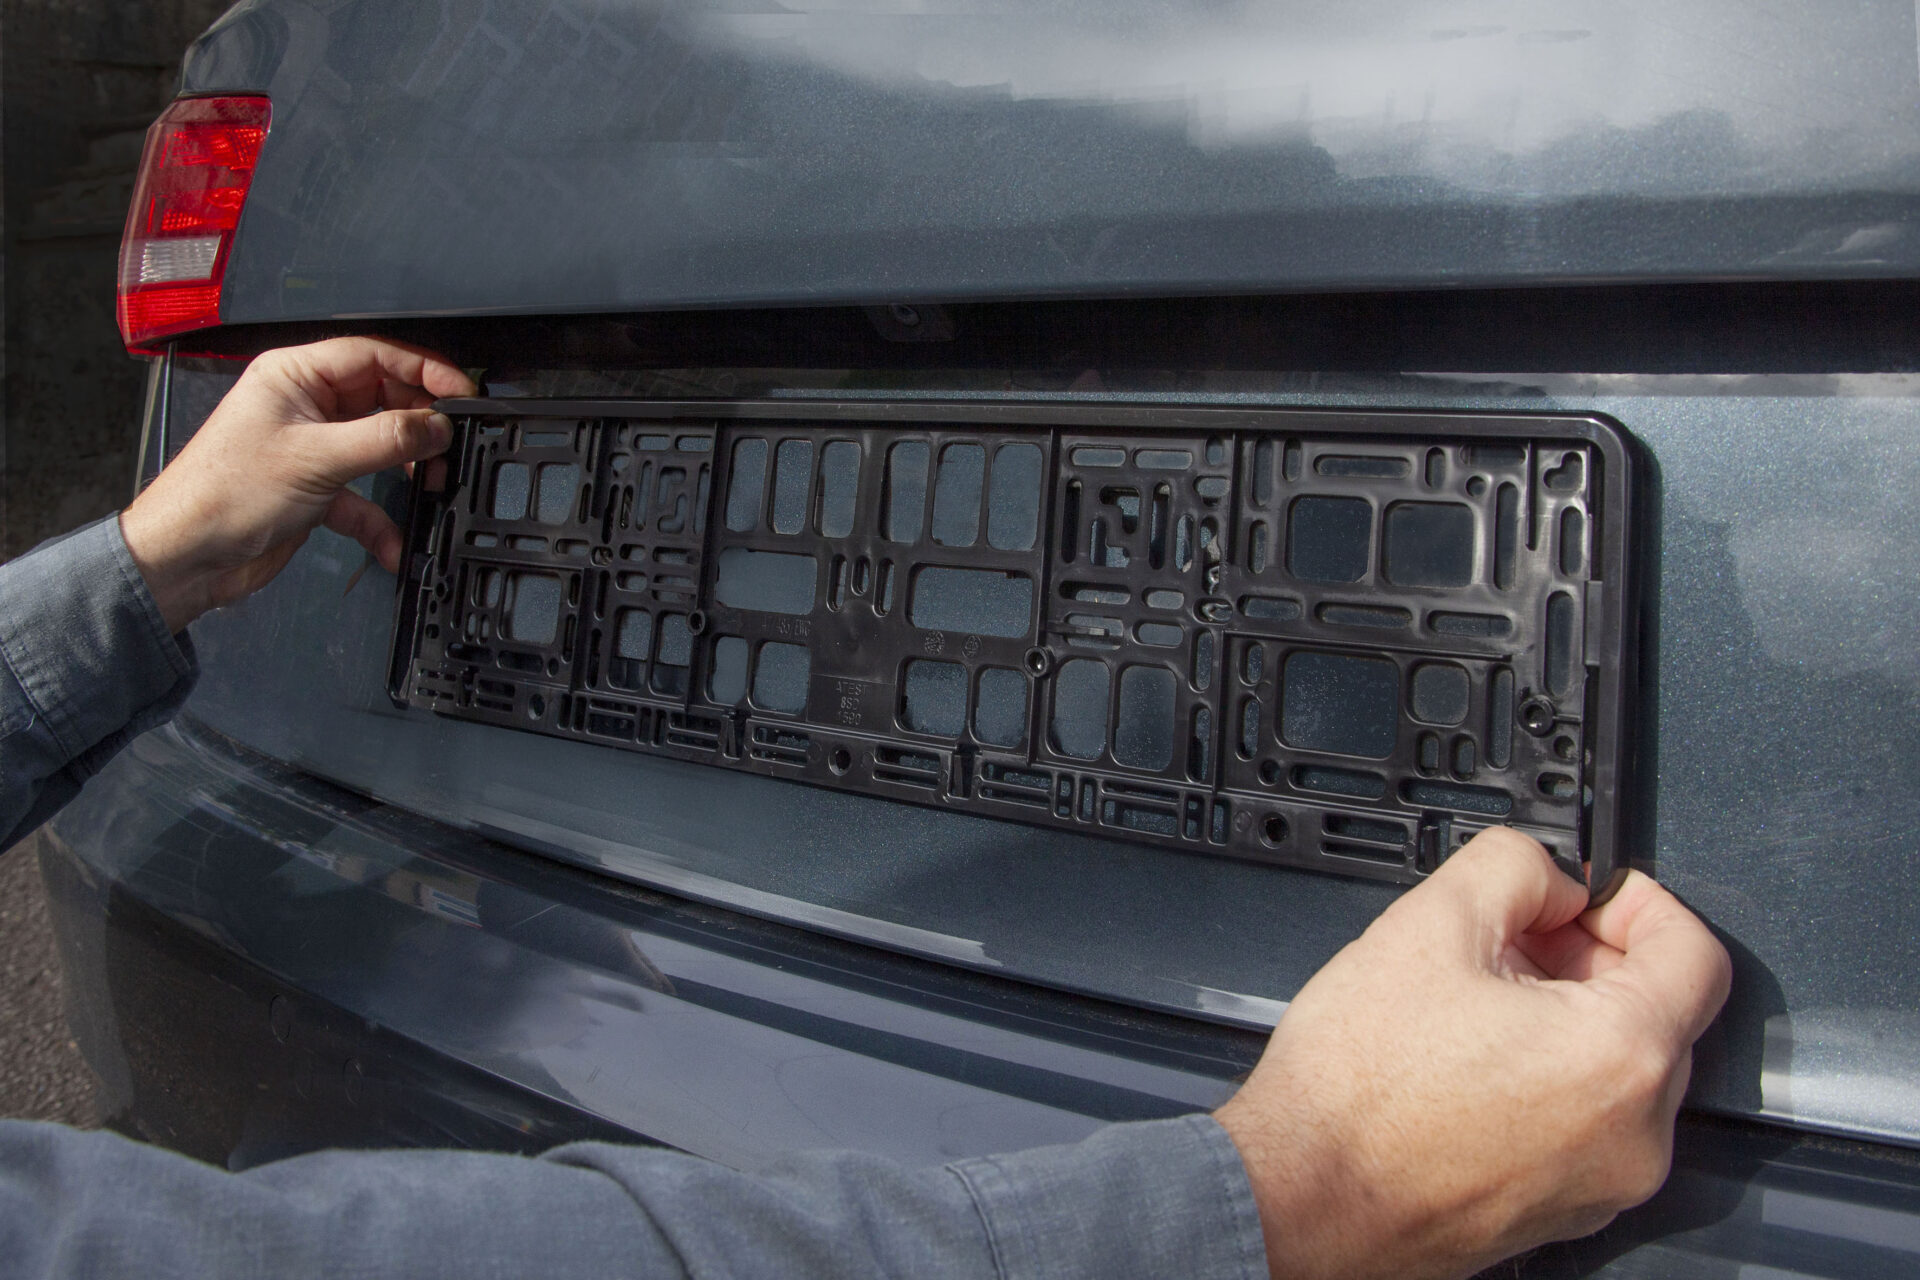
1. Fix number plate holder to car
(either with screws to pre-drilled holes or our ten-point sticky pads)

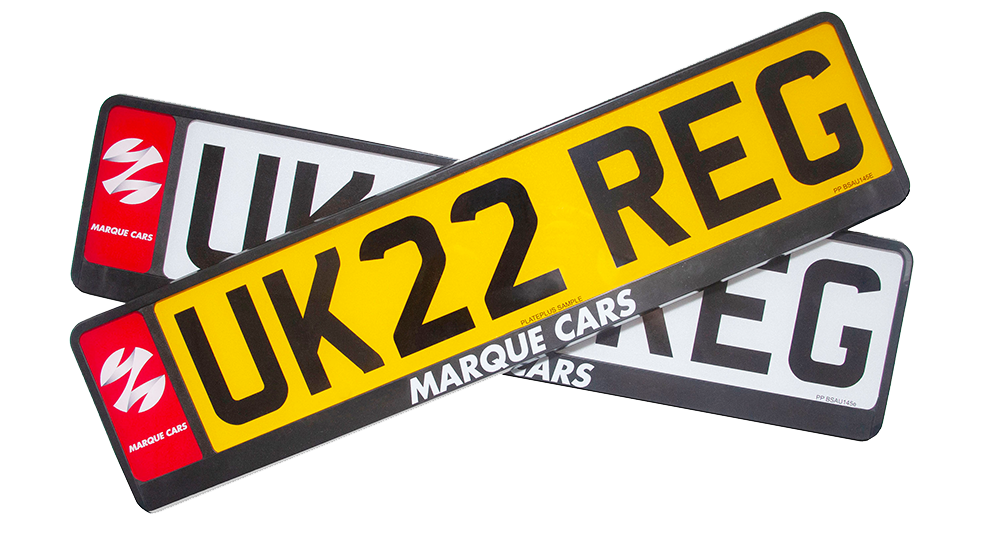
2. Slide in 465mm x 111mm number plate
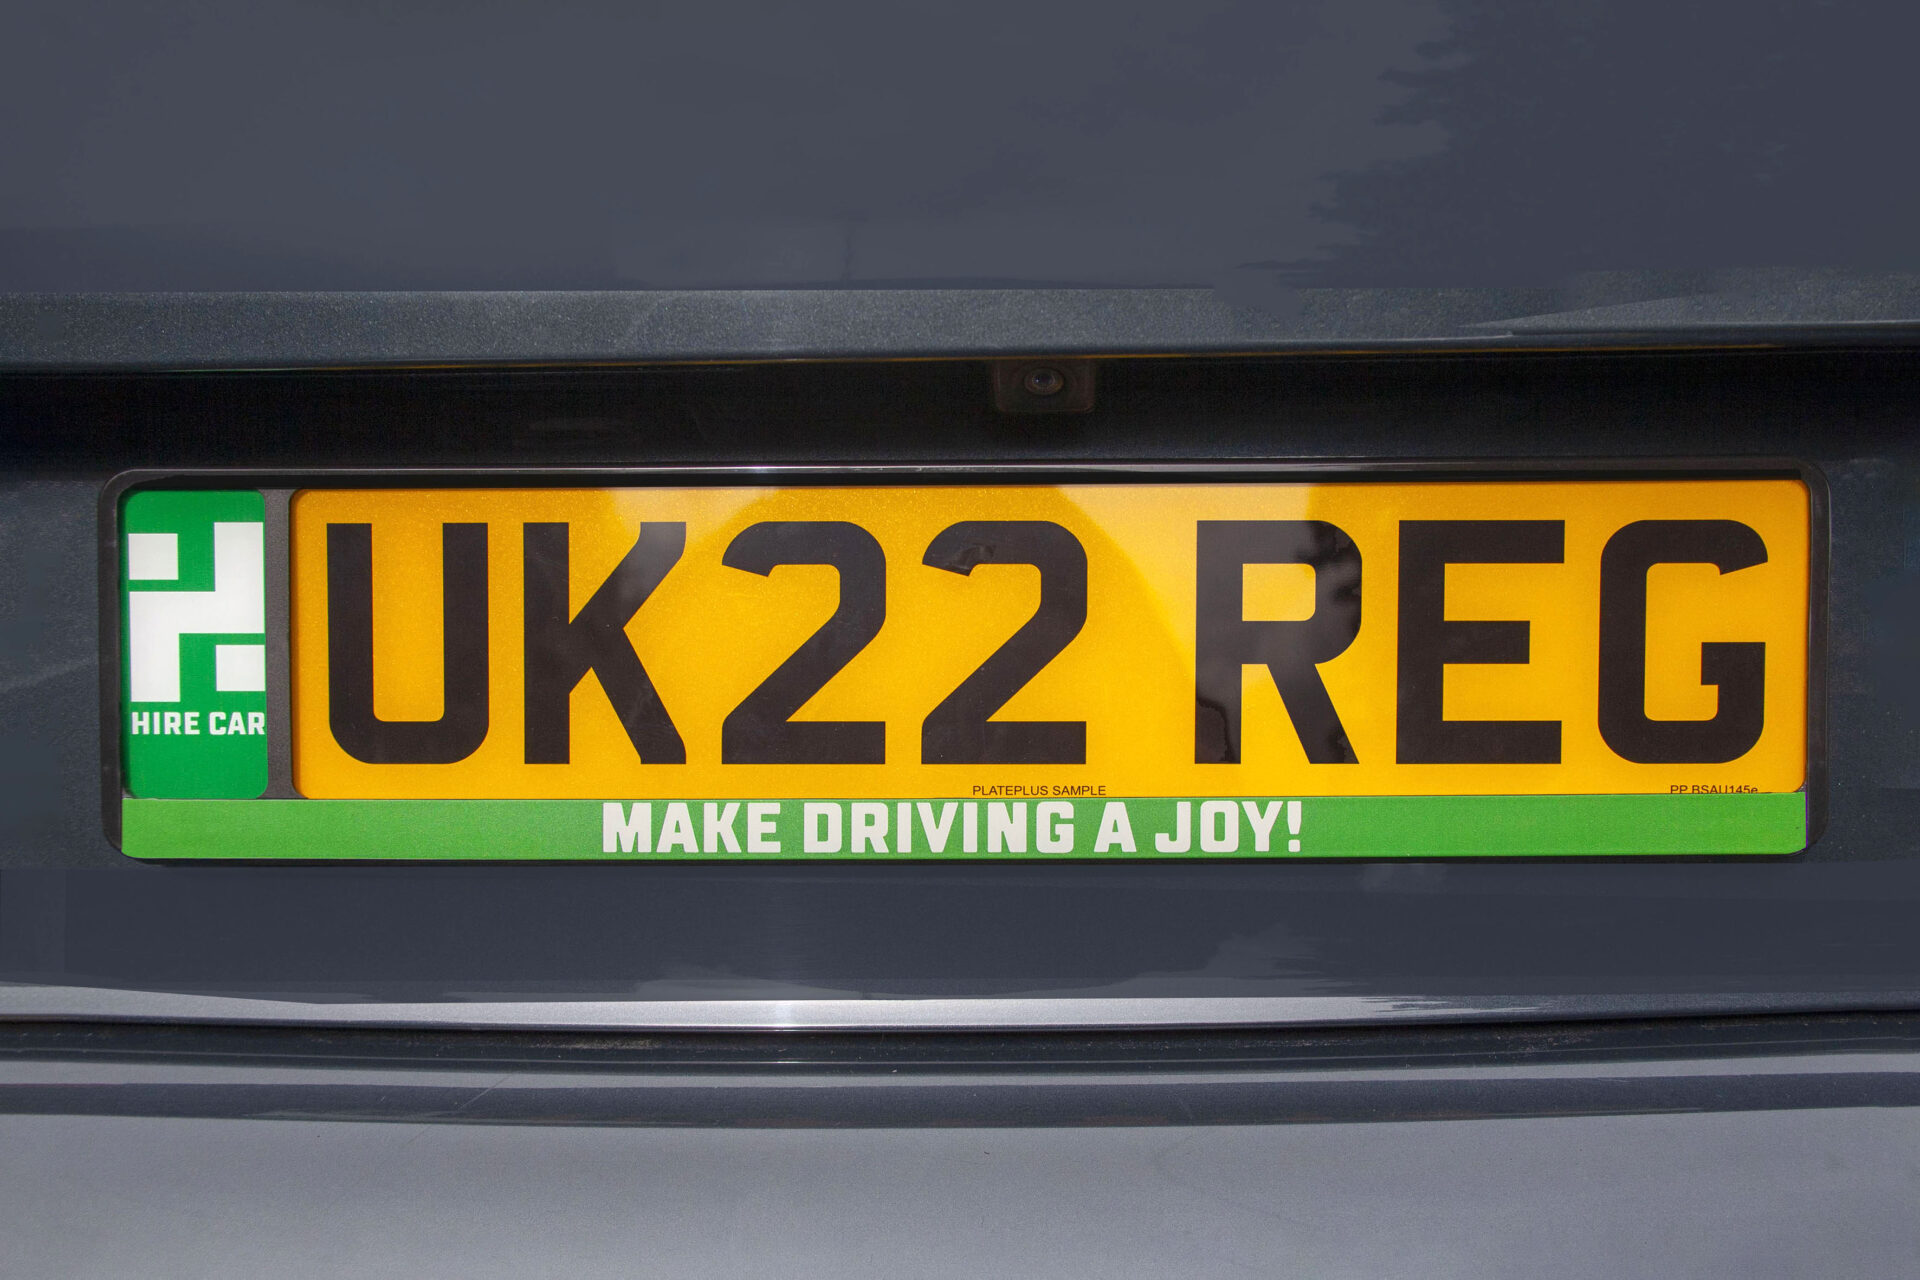
3. Slide in badge or logo
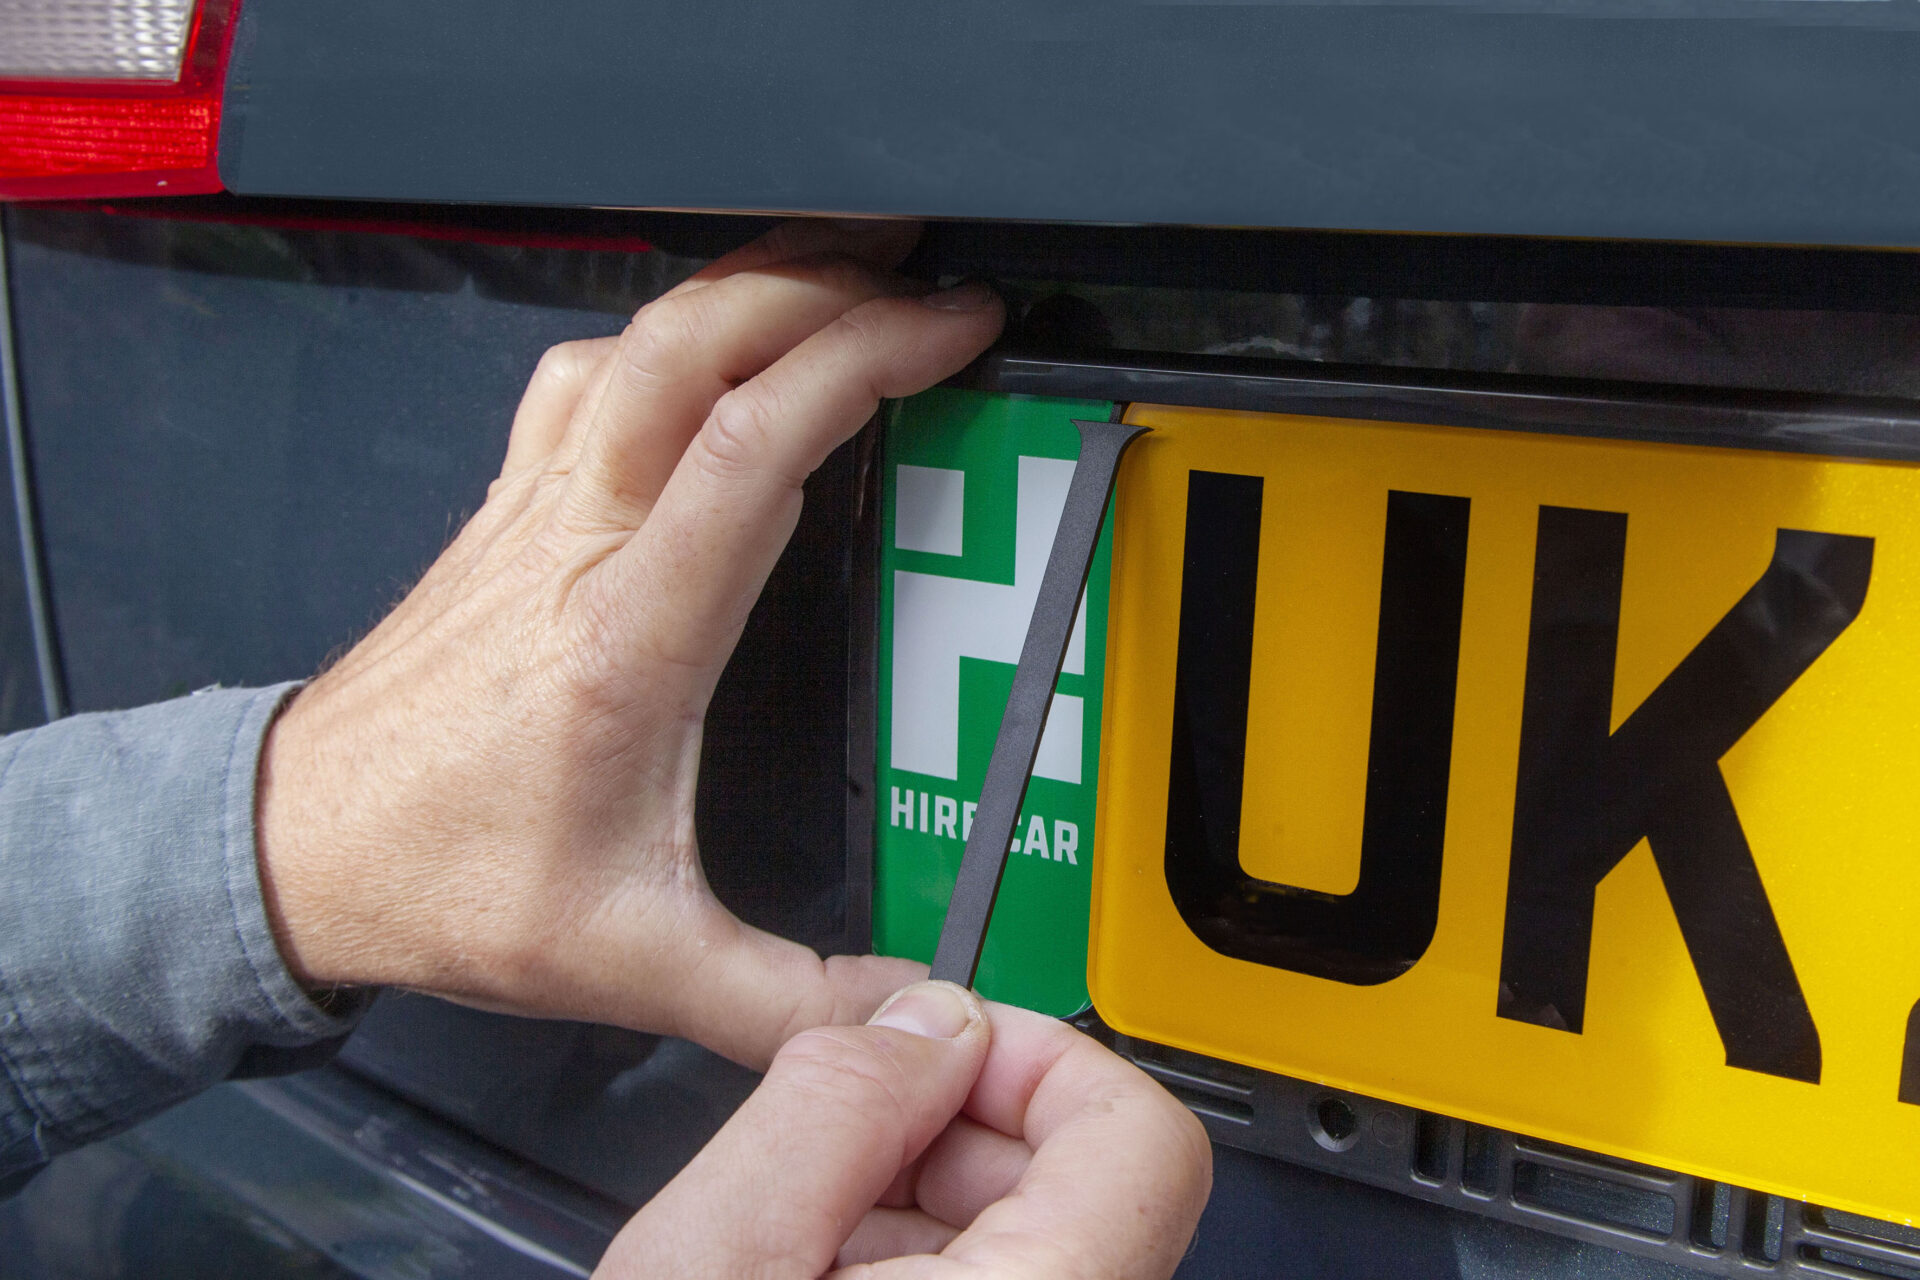
4. Slide in separator bar
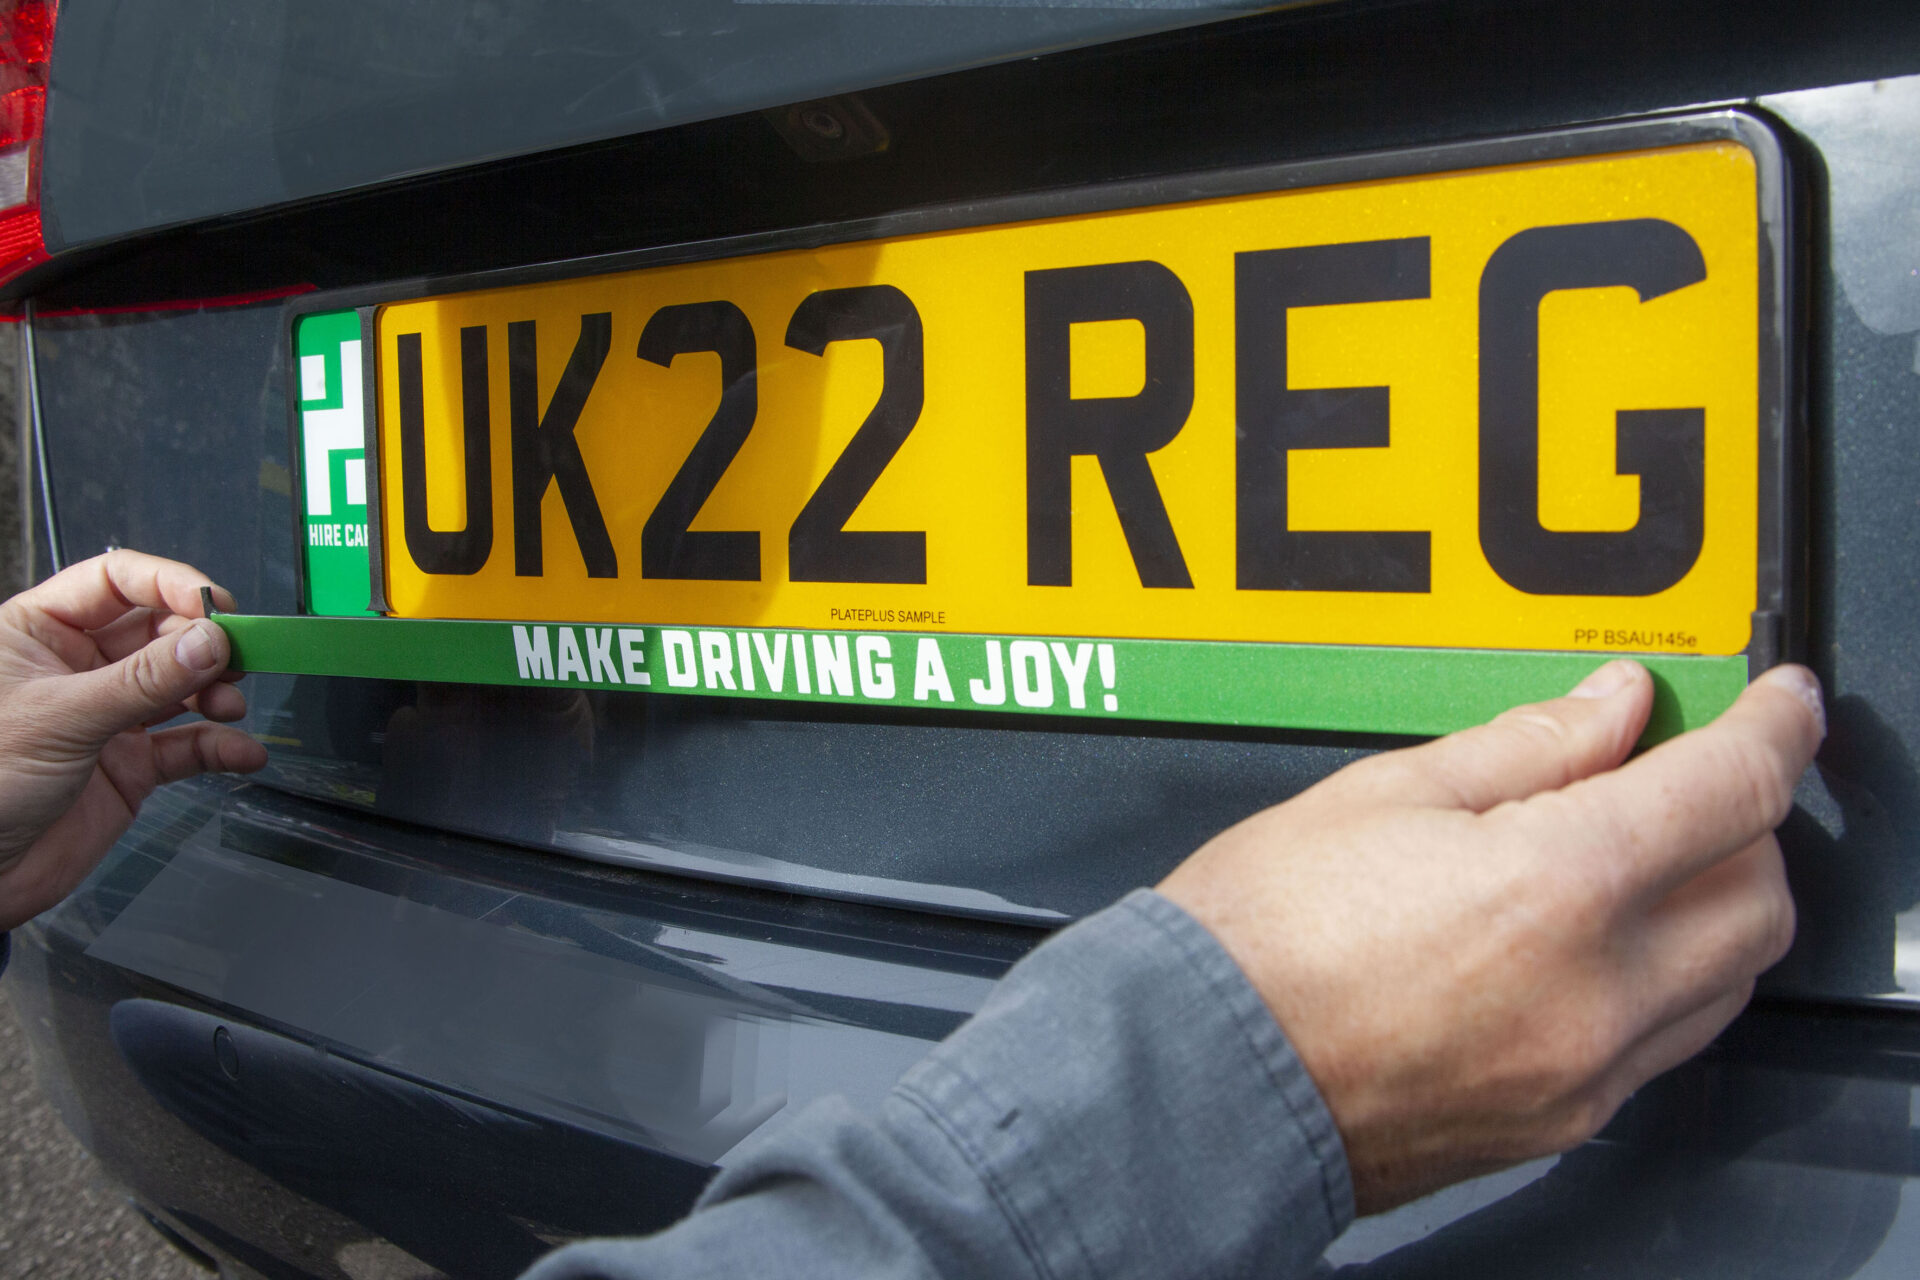
5. Clip in message strip
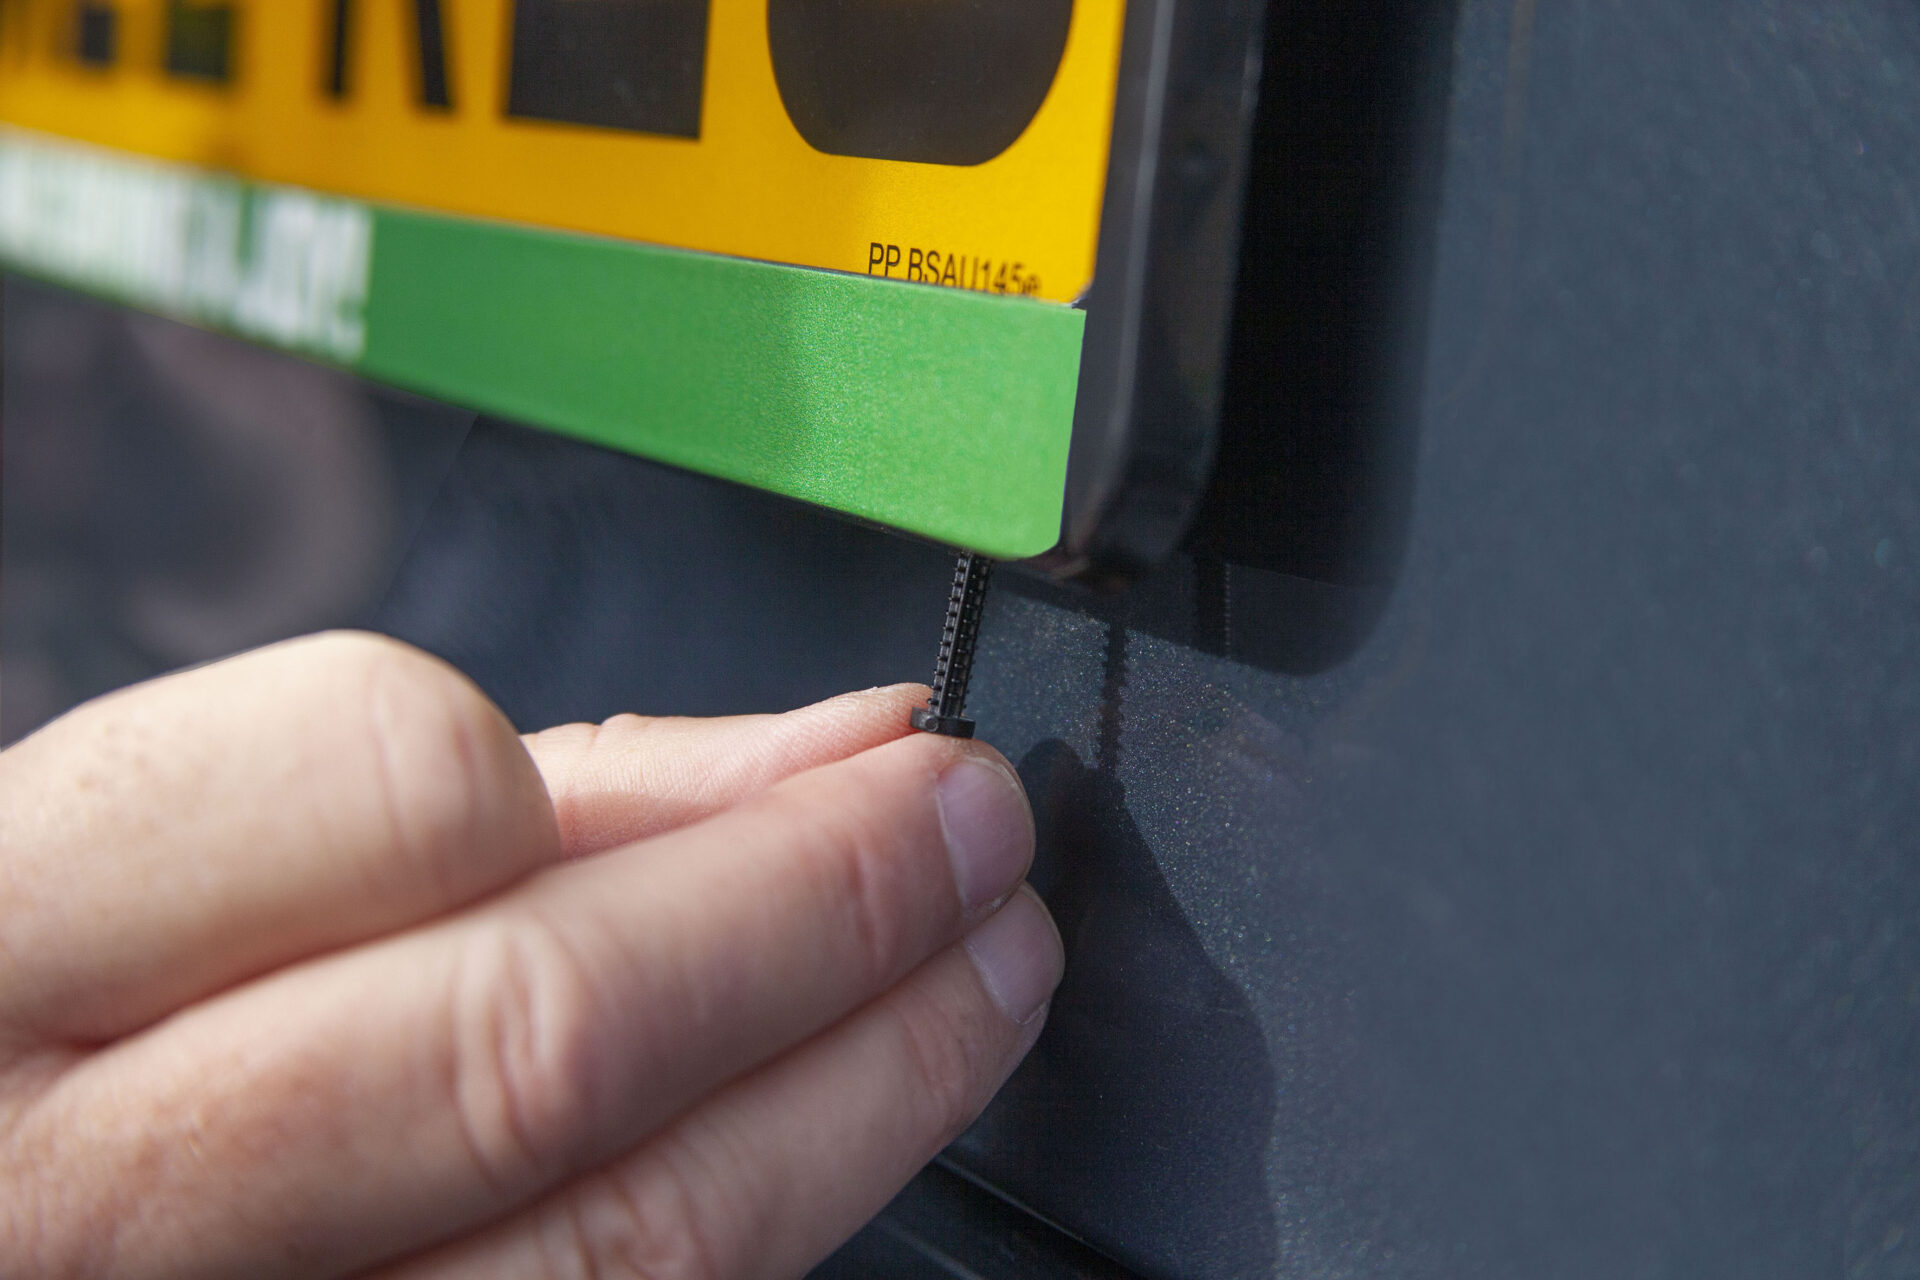
6. Lock holder with clips
Simply reverse the process to disassemble
Get in touch
To discuss your specific PlatePlus requirements please call 01373 859 343 or email info@plateplus.co.uk. Because you’ll always be more than a number.
Contact us